Tips on Building an In-Home Music Studio
Creating an in-home music studio is a great project for the aspiring music professional.
Having your own studio affords you the ability to create music at all hours of the day and night. You also save money in the long run by not having to pay the high hourly fees that come with renting out studio time.
So how do you go about building your private in-home studio? To start, you first need to decide on where you have space for it, and then you need to optimize the space for the best possible sound quality and acoustics for your future music productions.
Choosing And Setting Up A Room
Deciding where to put your studio is crucial to the quality of the music you will be able to produce. Achieving great acoustics and sound quality come from the room you choose as much as the equipment you use.
 Size
Size
The first consideration when deciding on a room is size. The bigger, the better. Larger rooms with high ceilings provide you with the best sound quality and space you will need for your equipment and musicians as your studio becomes more advanced.
Location
Next, where is the room located. When selecting which room you will use as your studio; you want to try and use an interior room.
These rooms help with noise reduction both escaping from your studio as well as coming from outside your room. Putting your studio in an exterior room will lead to noise such as traffic and nature interrupting your recordings, and are harder to sound proof.
Optimize
Once you have decided on which room, you will use for your in-home studio, it's time to tailor it for optimal sound quality.
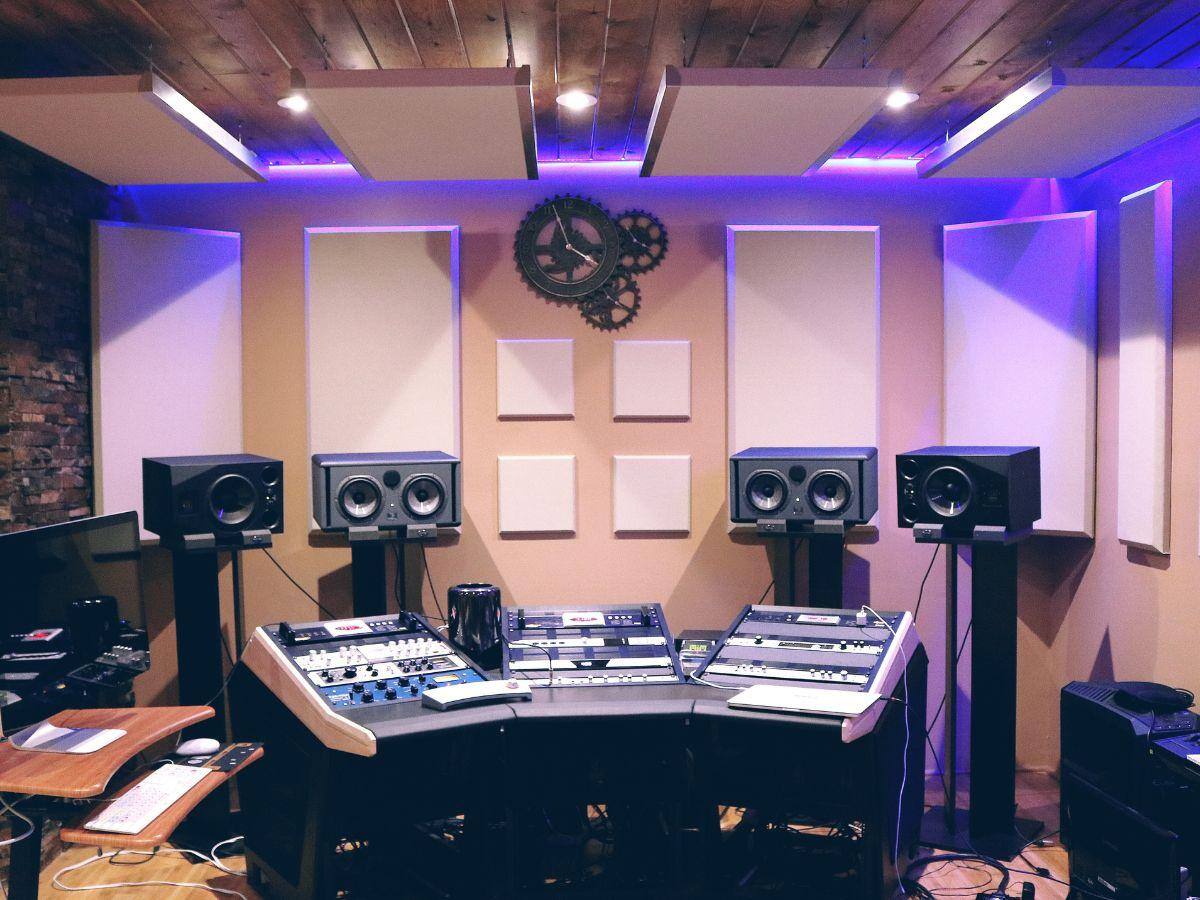
The first step in tailoring a room for music recording is creating irregular walls and surfaces. This is important in reducing echo and increasing the quality of the room’s acoustics.
One way you can accomplish this is by adding pieces of furniture such as couches and chairs to the room so that the sound can bounce off of them. Hanging objects on the wall like pictures and shelves is also an effective way of doing this.
Sound Proof
Now that you have decided on the room, and tailored it for sound quality, it is time to sound proof it. Let us begin with the floors.
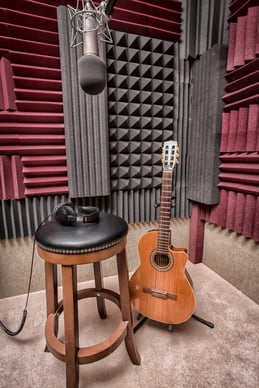 The floors can be sound proofed by adding carpet or elevating them. This will help reduce the sound bouncing off the floors when you record which contributes to poor sound quality.
Once you have sound proofed the floors, its time to do the walls.
The best and most cost-effective way to sound proof the walls are by installing special foam.
There are many companies who make foam for specifically this purpose, so it should be fairly easy to find. Adding foam to the walls and carpet to the floors is a great start to effectively sound proofing your new in-home music studio.
After you have sound proofed your studio, it is time to seal it off. Begin this step by finding any cracks or holes such as vents and doorways in the room.
You can seal these off by using materials such as leftover foam, vinyl or rubber.
Creating an in-home music studio is a great way to start producing your own quality music.
Just add in the music production equipment, and you are ready to get started. In the long run, you save money on studio time and have the ability to work whenever you feel inspired. Following the above steps will lead you down the right path to getting started building your own personal studio.
Not quite up to the task of building your own music studio?
Come check out the Atlanta Institute of Music and Media today. With state of the art equipment and the guidance of professionals in the music industry, we provide the perfect environment for the thriving young artist.
Call us today or click the button below to learn more about our music degree programs.
